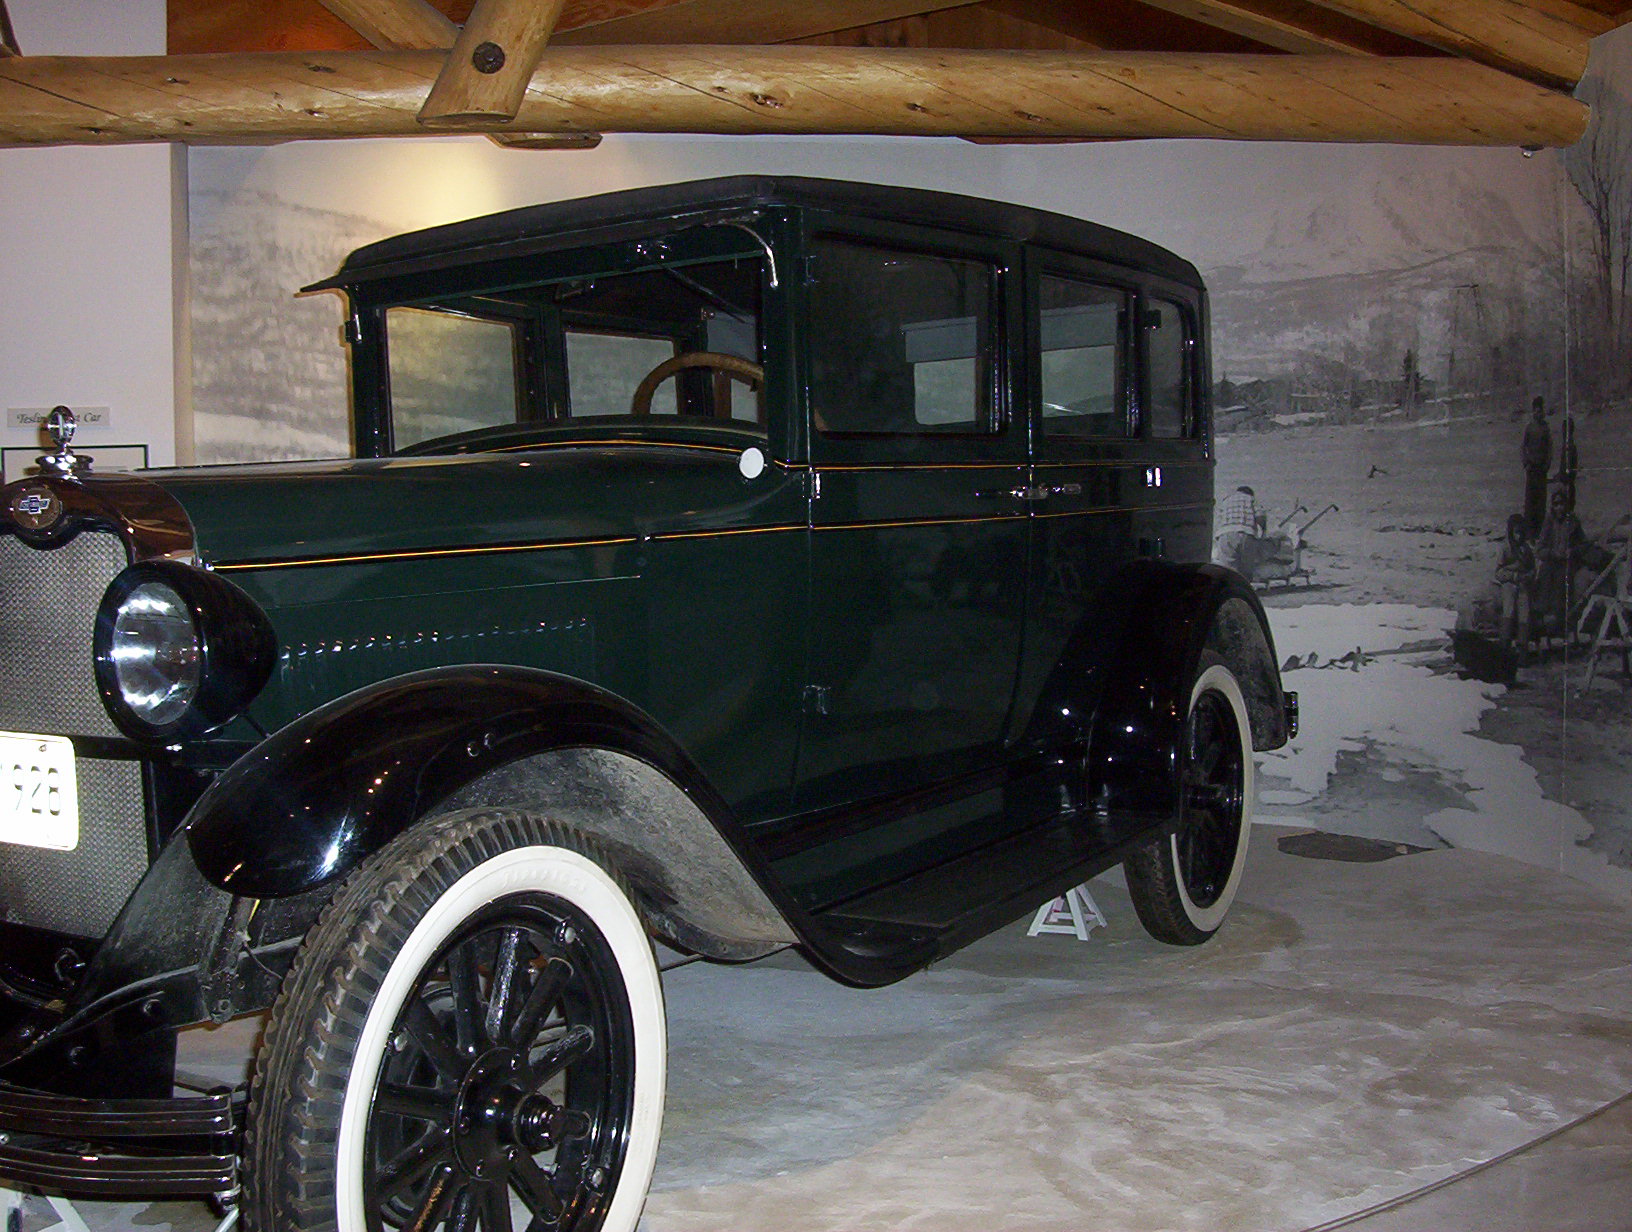
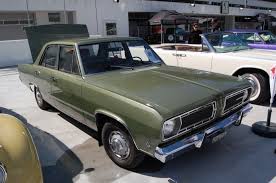
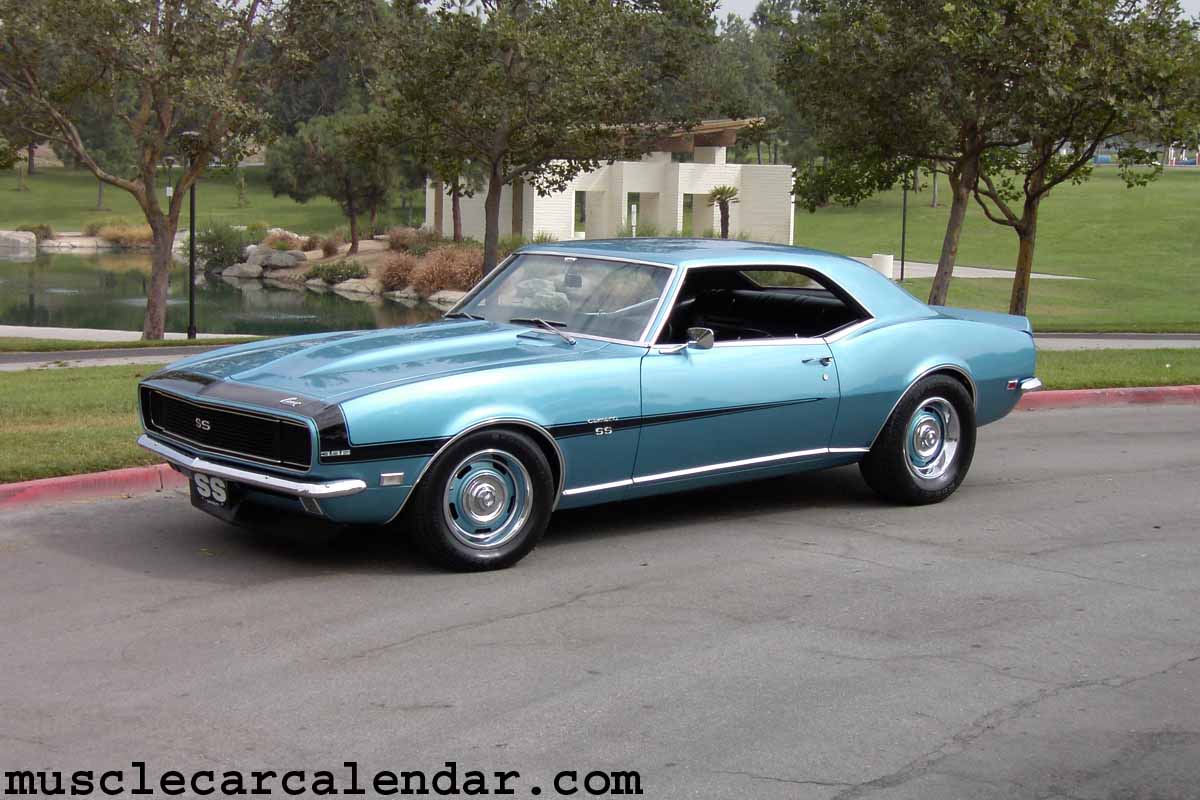
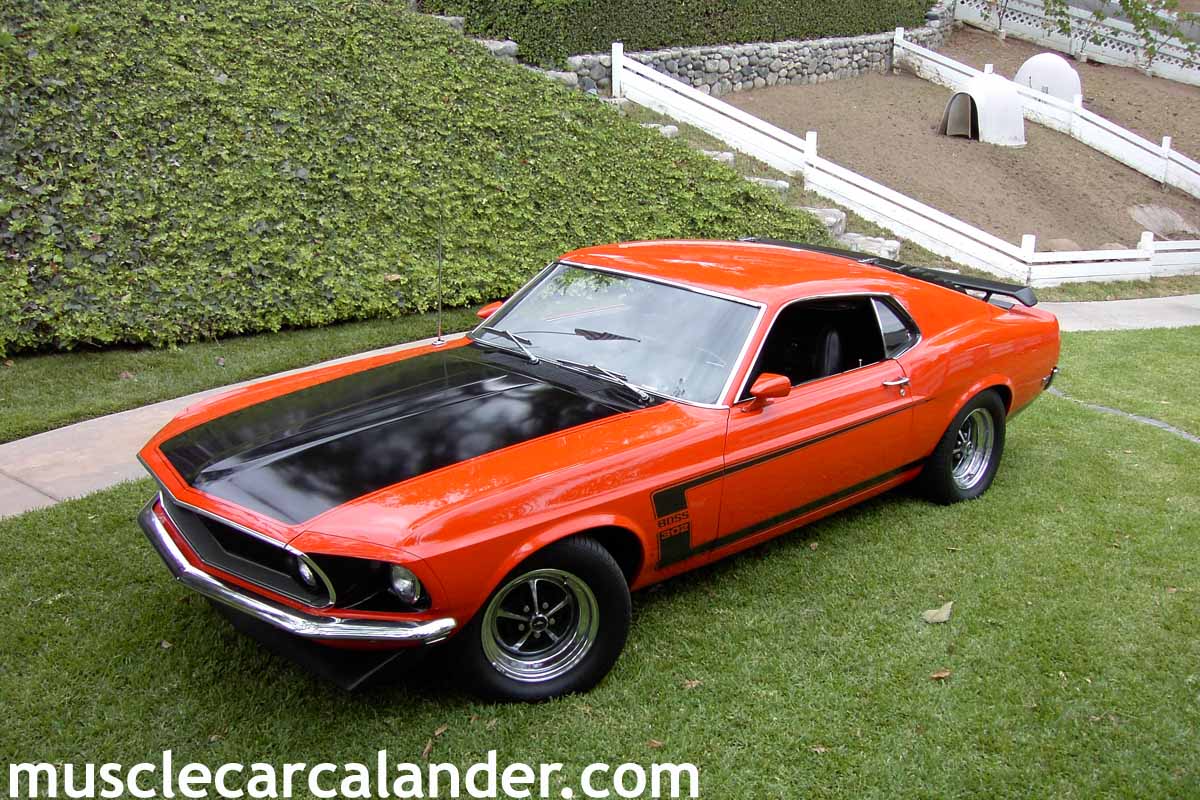
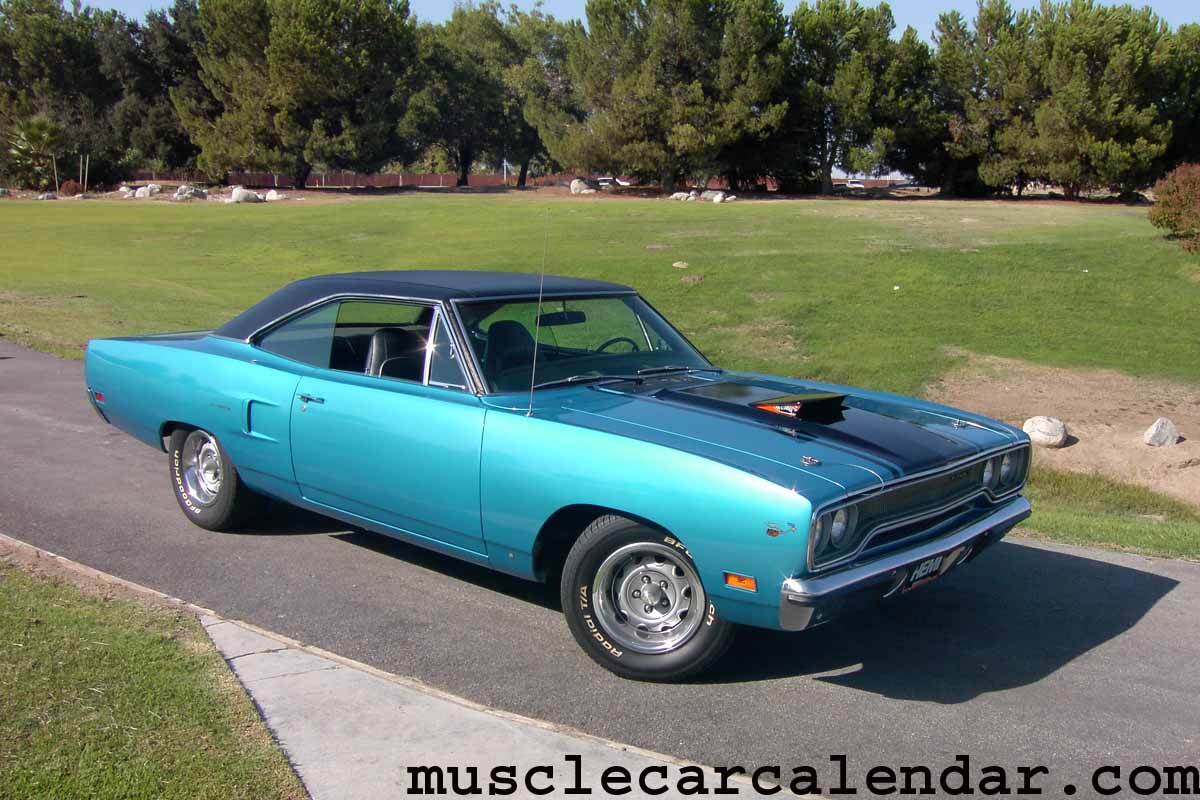
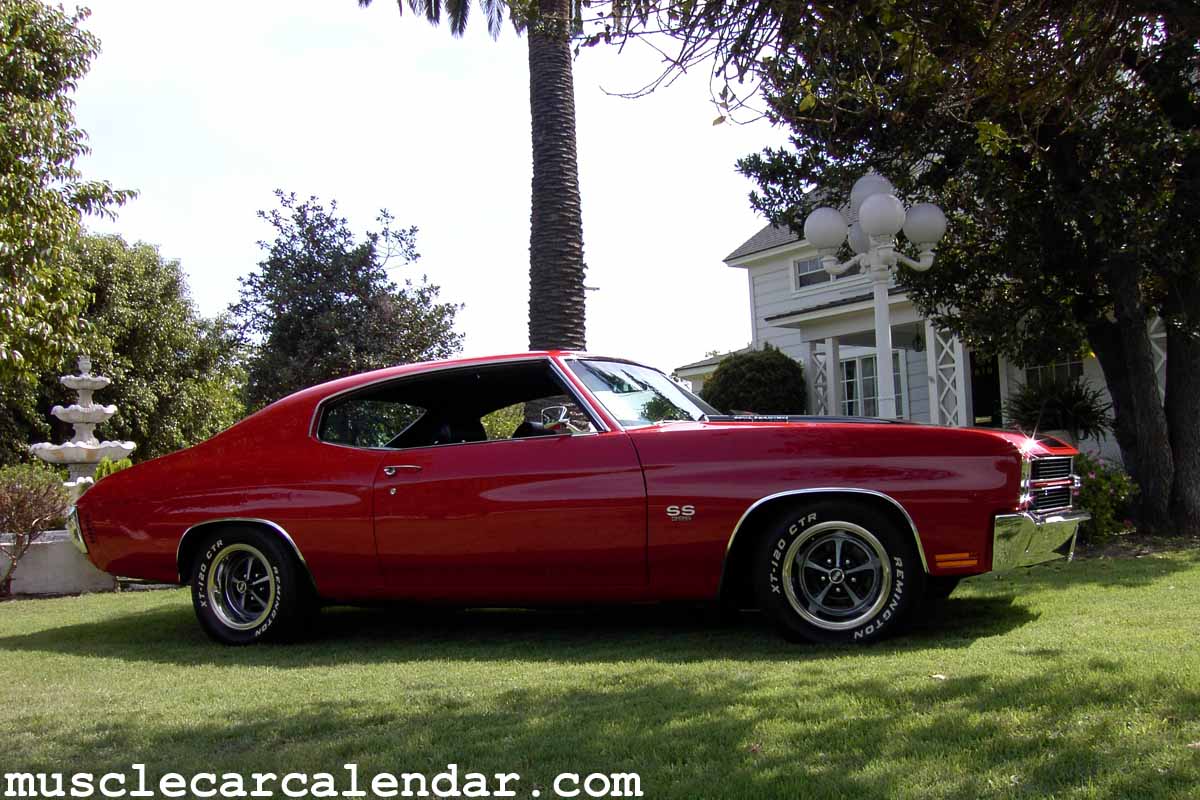
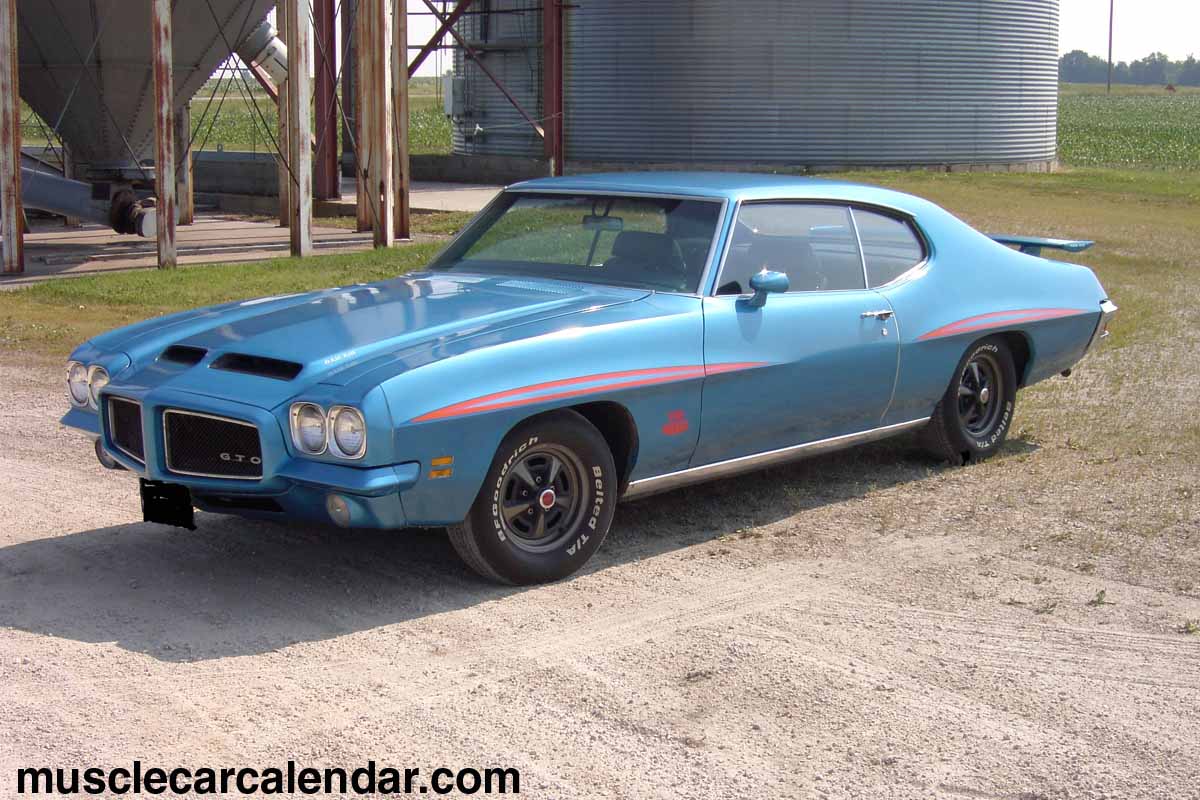


This is another hobby of mine and popular among many. There is something about those older cars that many of us cherish, probably because we remember them as the coolest cars when we were young.
This is just a new section on the site so will evolve as I build it. I am thinking I will add tips and ideas I learned about restoring old cars, links to good websites to help, sources for old parts and pictures and comments of my own restoration project as I go along.
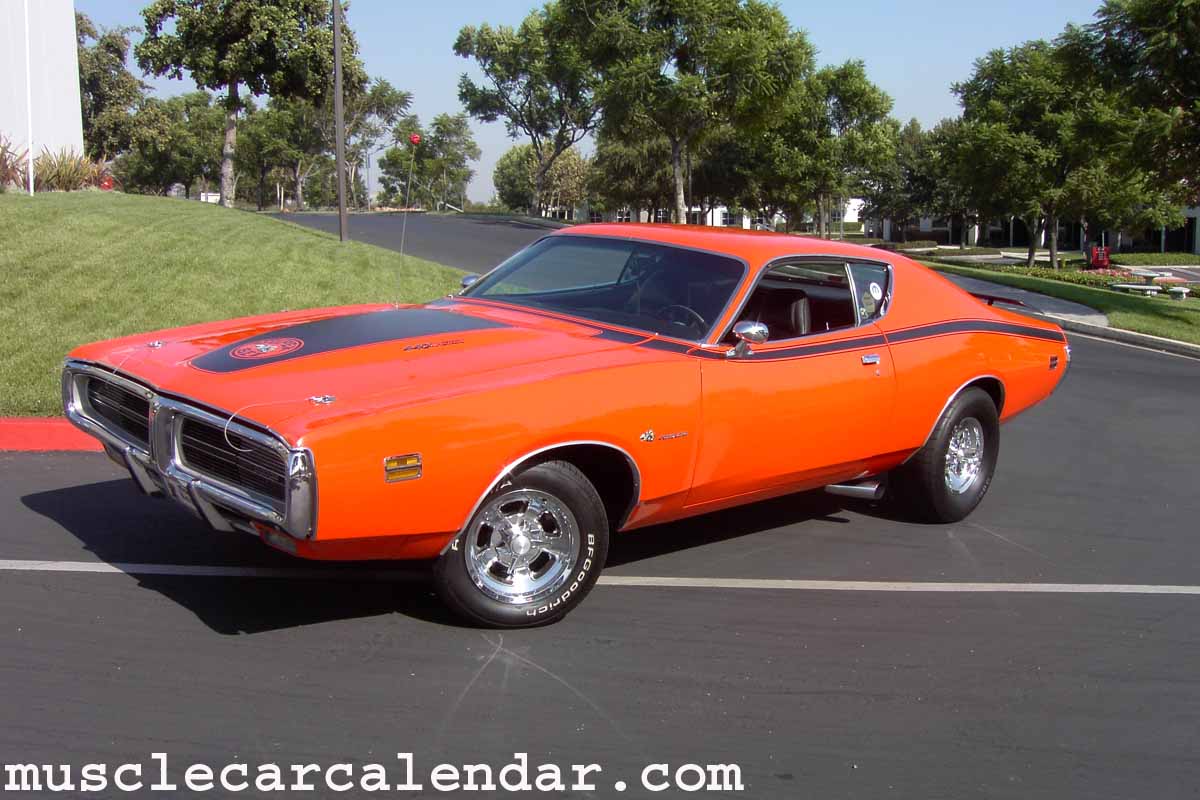
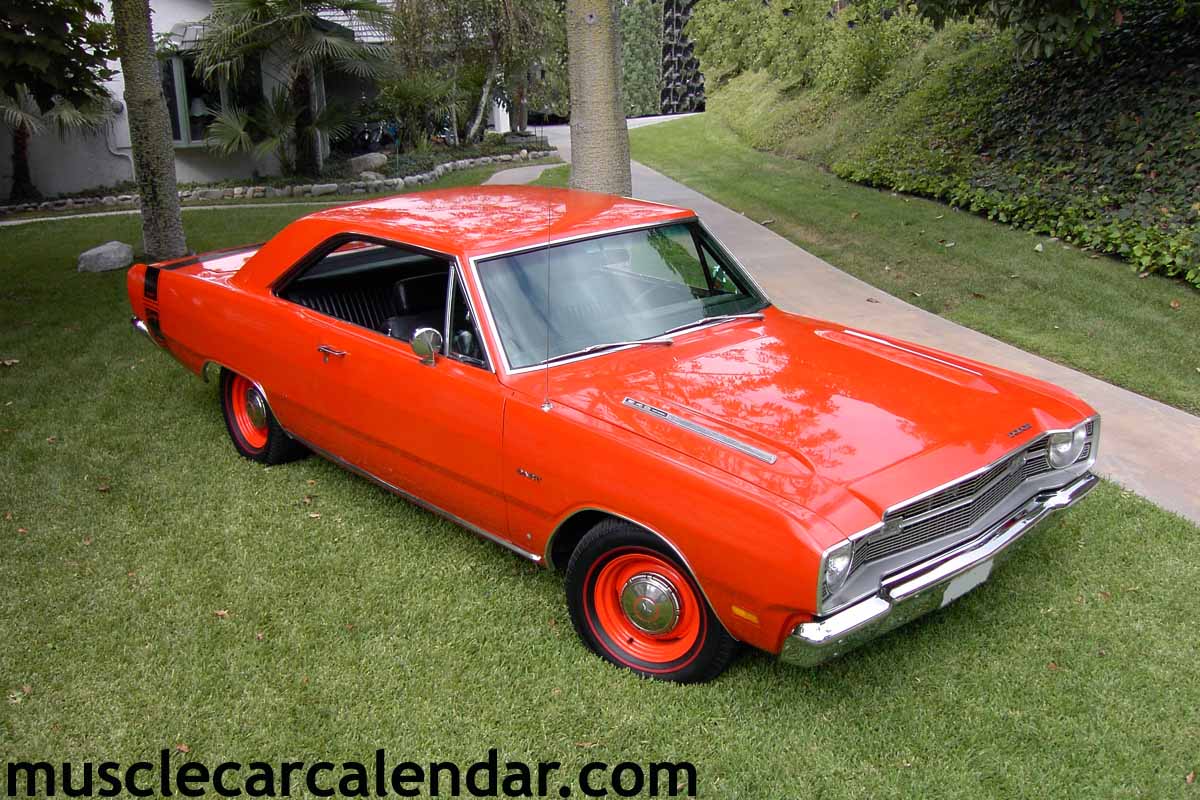
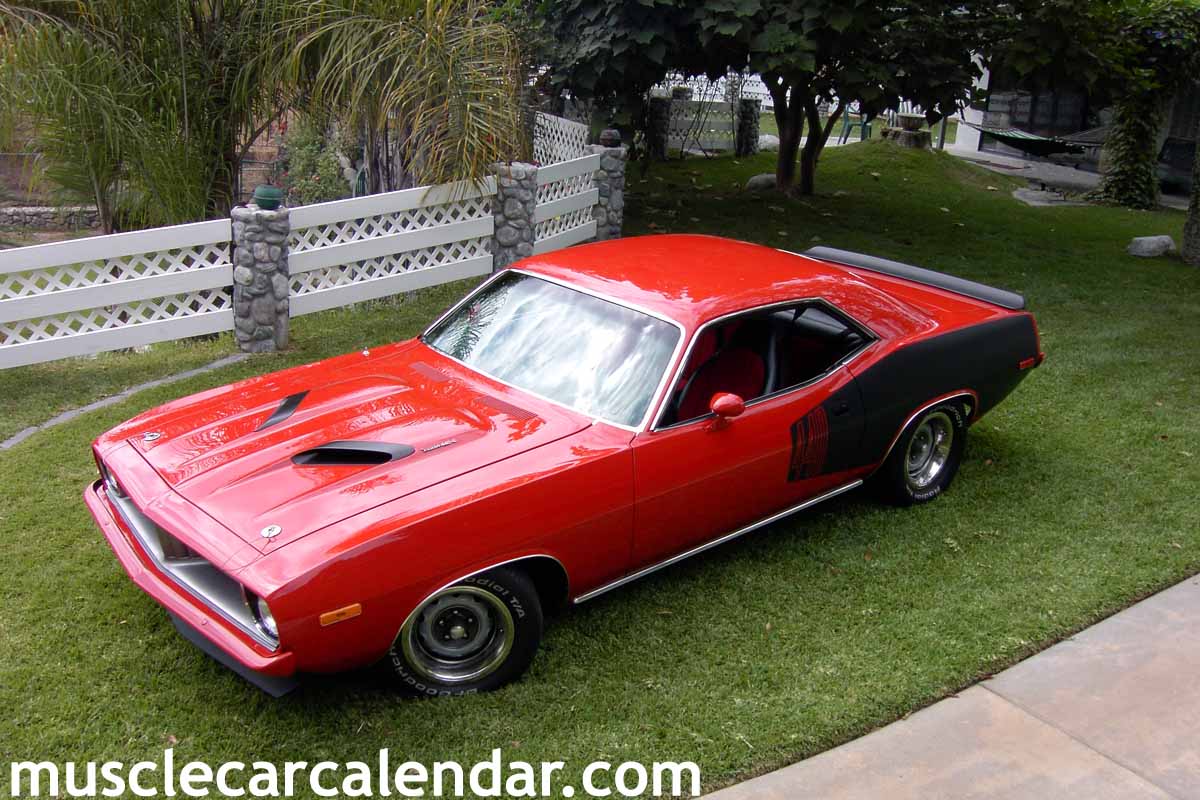
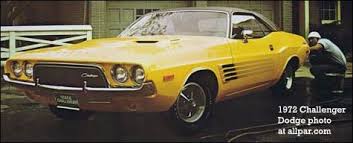
I bought my 1974 Challenger new and the last year it was on the road was 1987. It seen a few harsh winters in Ontario when I first owned it and after 3 winters I only drove it in the summer.
In the late 1980s I owned a Dodge Ram 4X4. I pulled out the 360 cubic inch (CI) engine and put the Challenger 318 CI in the Ram for better gas mileage. I have some good plans to bore out the 360 and put in 340 pistons, so in essence you have a stroked 340 about 372 CI. It is still sitting in my garage as work barely in progress.
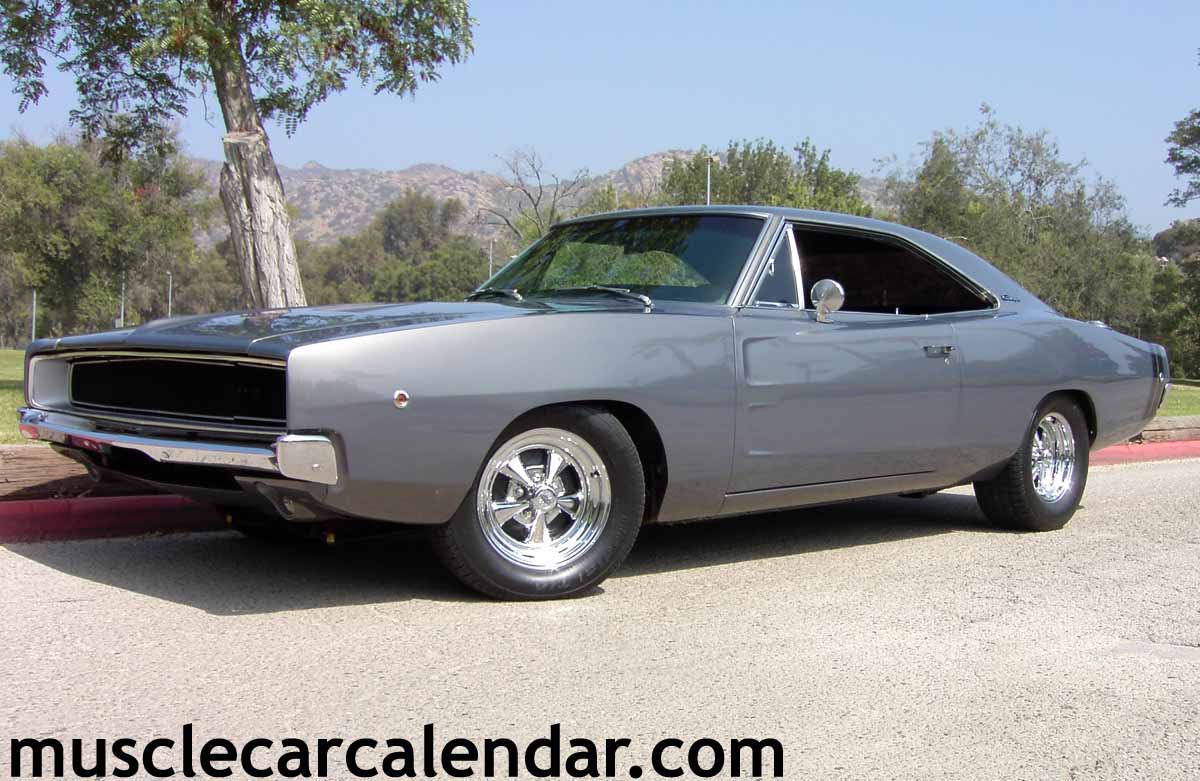
My 1974 Challenger sat around for years and finally 2 years ago, I started the restoration project, basically on weekends in the winter months. I bought the full garage service manuals when I bought it and that is a very useful resource now.
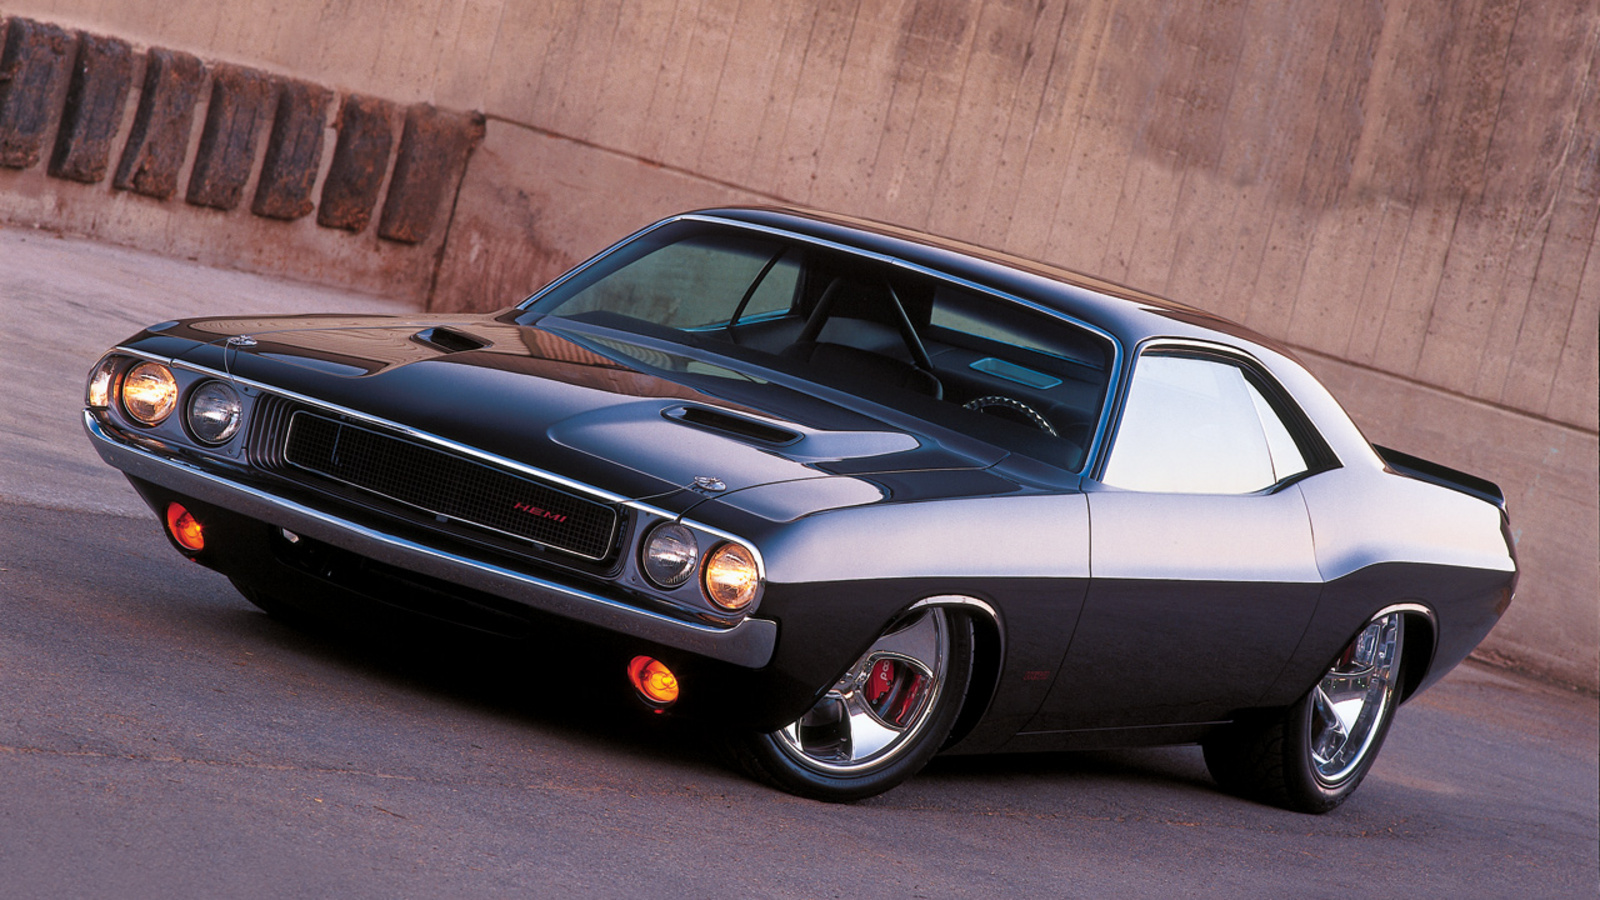
I began stripping the body apart to rebuild from the ground up. I was fortunate that I had the car undercoated when it was new so as it turns out, there is only bad rust in the areas behind the four wheels and I am repairing that by welding in new metal. While the undercoating help save the car, it has sure added to the restoration process as I have to strip off the undercoating to repair body parts. The front hood and the whole engine compartment was under coated so I had to strip all that so I could restore to original show room paint.
This dam undercoating is all over the place so I end up having to strip it off each part as it is removed. There might be some solvents I could use, but I am not keen on chemicals and it would be a big mess everytime I had to use the process. I found a putty knife and a wire wheel on a drill as the best method.
Restoration Tips
These are a few things I learned and by no means am I an expert and have them all covered.
- For the best resale value, it is best to keep everything as close to original as possible.
- The factory spec sheet is a good thing to find and laminate. It is often under a seat on the springs. I found mine when I removed the rear seat.
- In restoration - rust is your # 1 enemy. One of the most important weapons in your arsenal is using a rust converter.
- If a part has too much rust to repair, then the only option is to replace it. Fortunately there are factories still producing parts to factory specs. I have used CARID that has an excellent selection, even handles, door hinges tail/side light lens, you name it.
- There is a few must have tools outside the ordinary you will need and they can be a bit expensive. This includes an air compressor, small hand carry sand blaster, wire welder and metal grinder.
To be continued .......................